Projektgalerie
Visuelle Dokumentation des Custom Builds
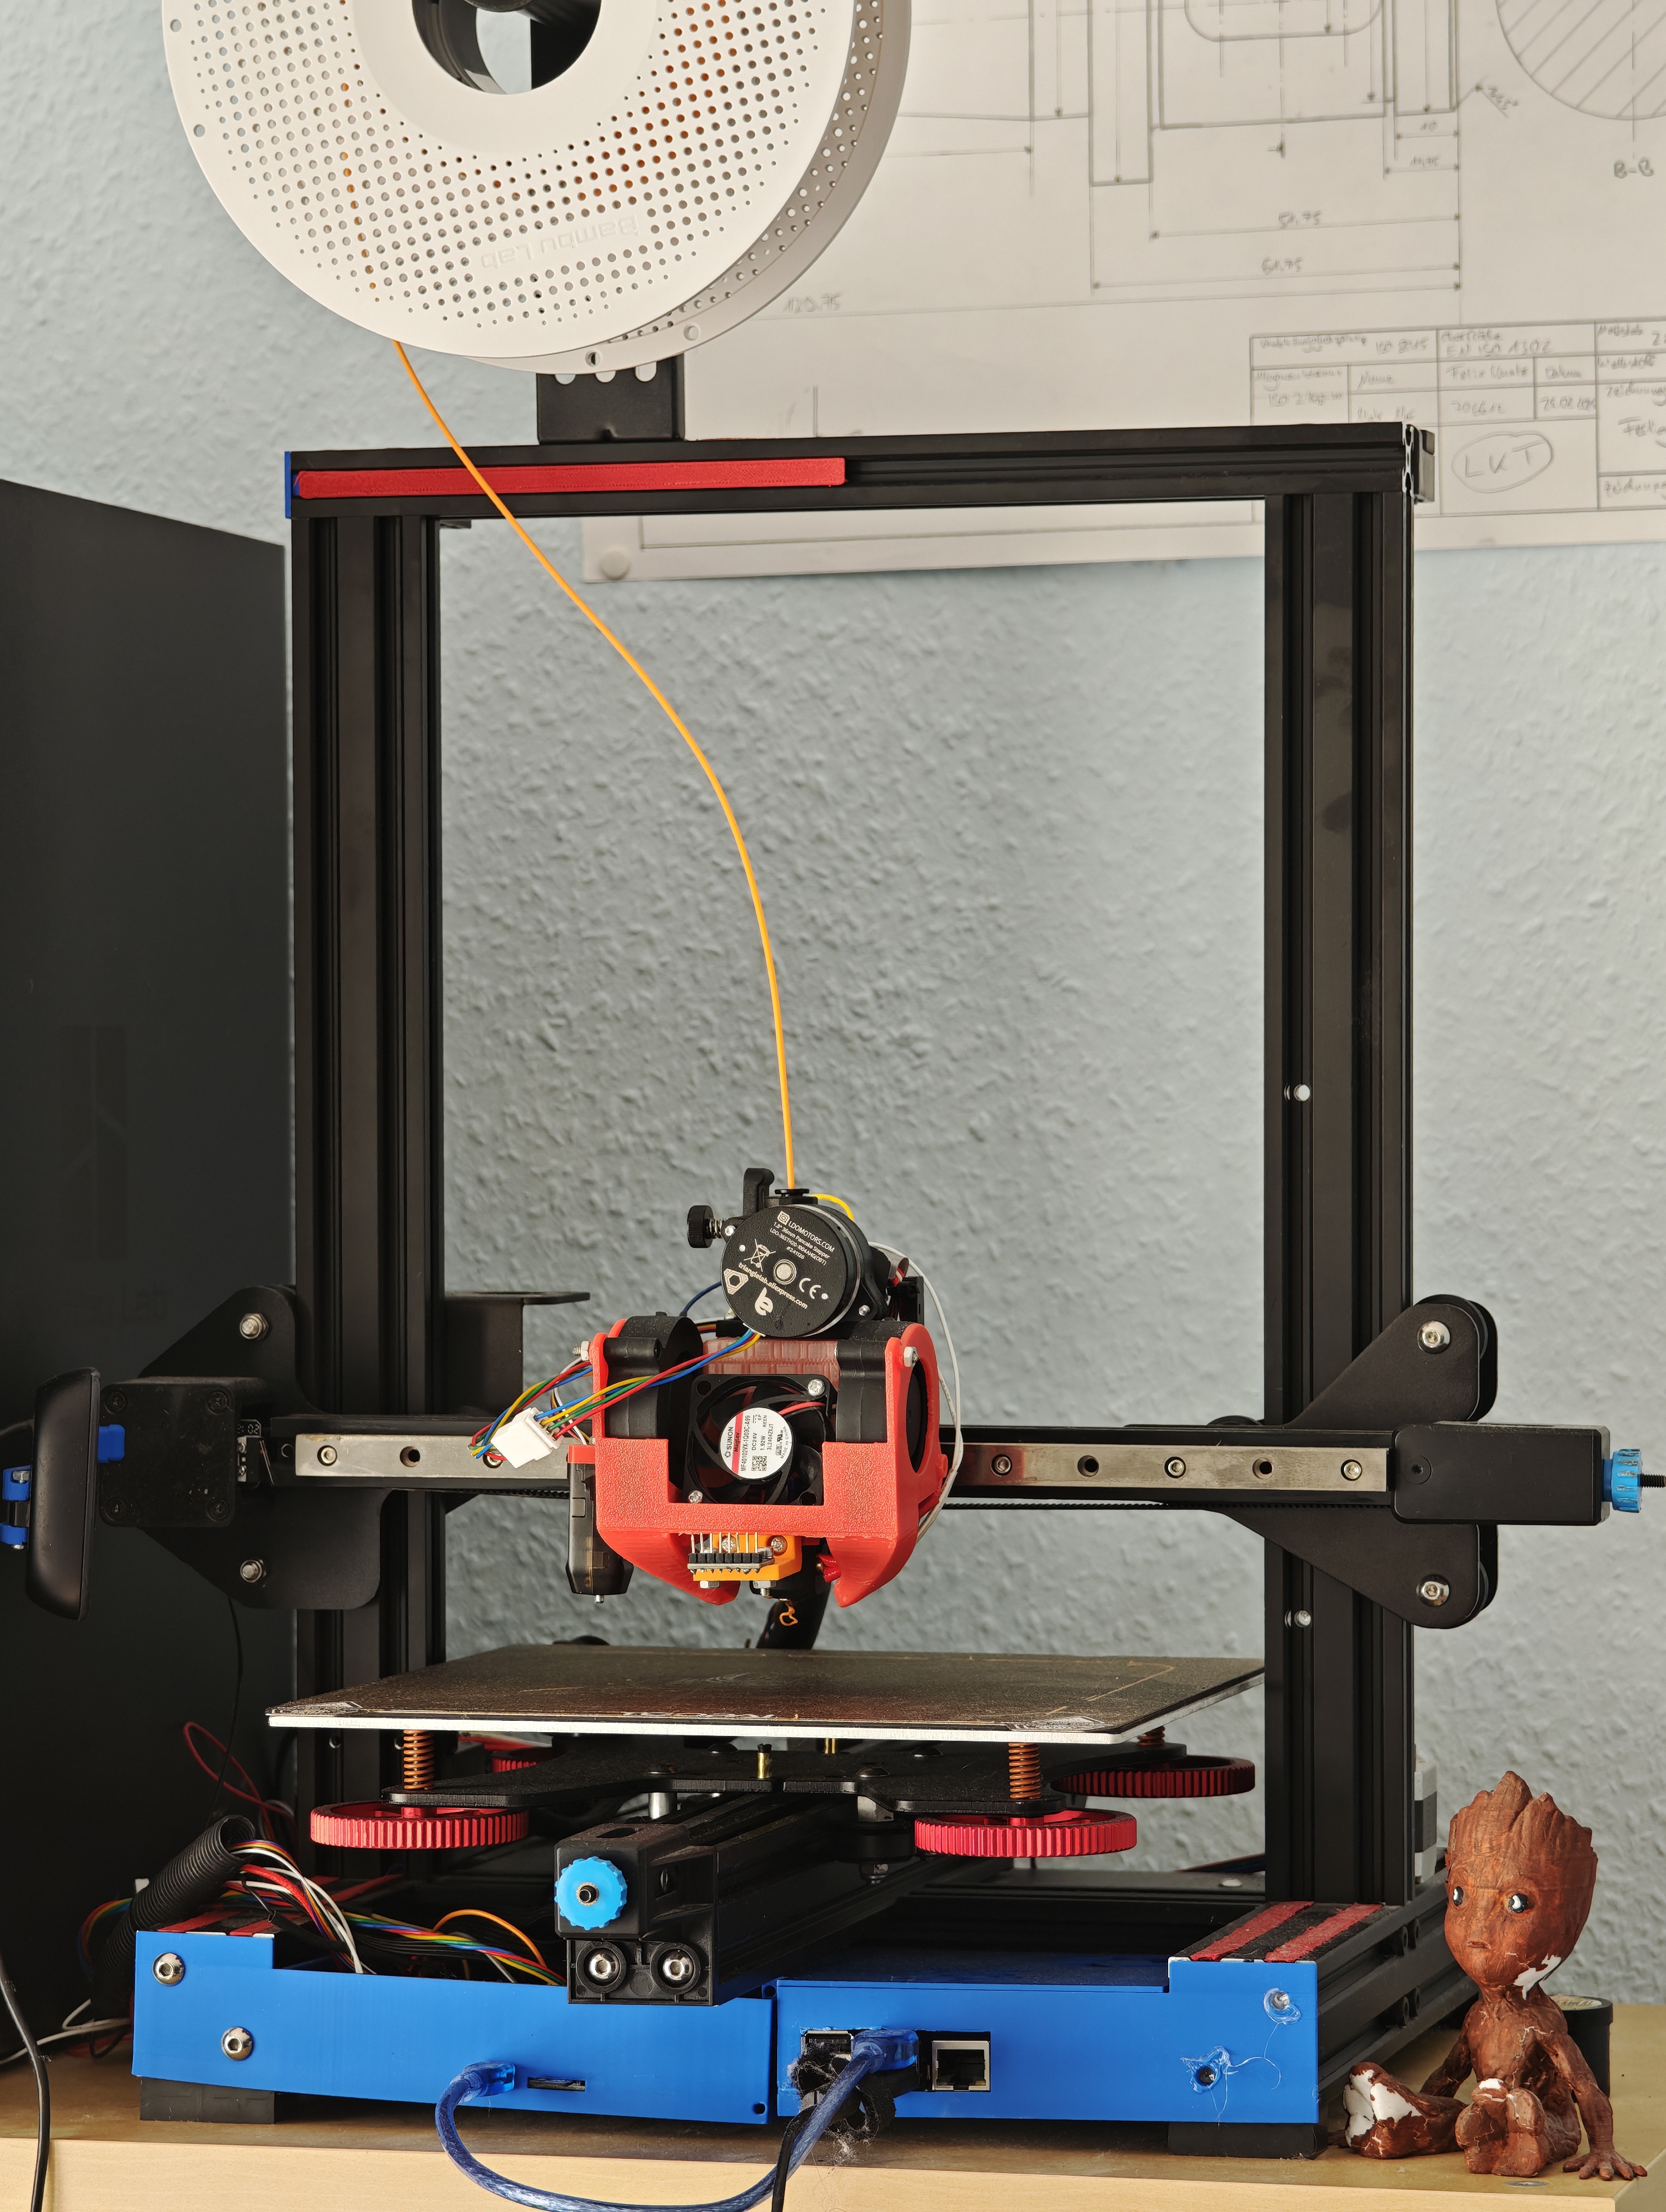
Komplette Build-Übersicht
Alle wichtigen Upgrades sichtbar: Linearschienen, Dual Z-Achse, Hero Me 7 Kühlschroud und Orbiter Extruder.
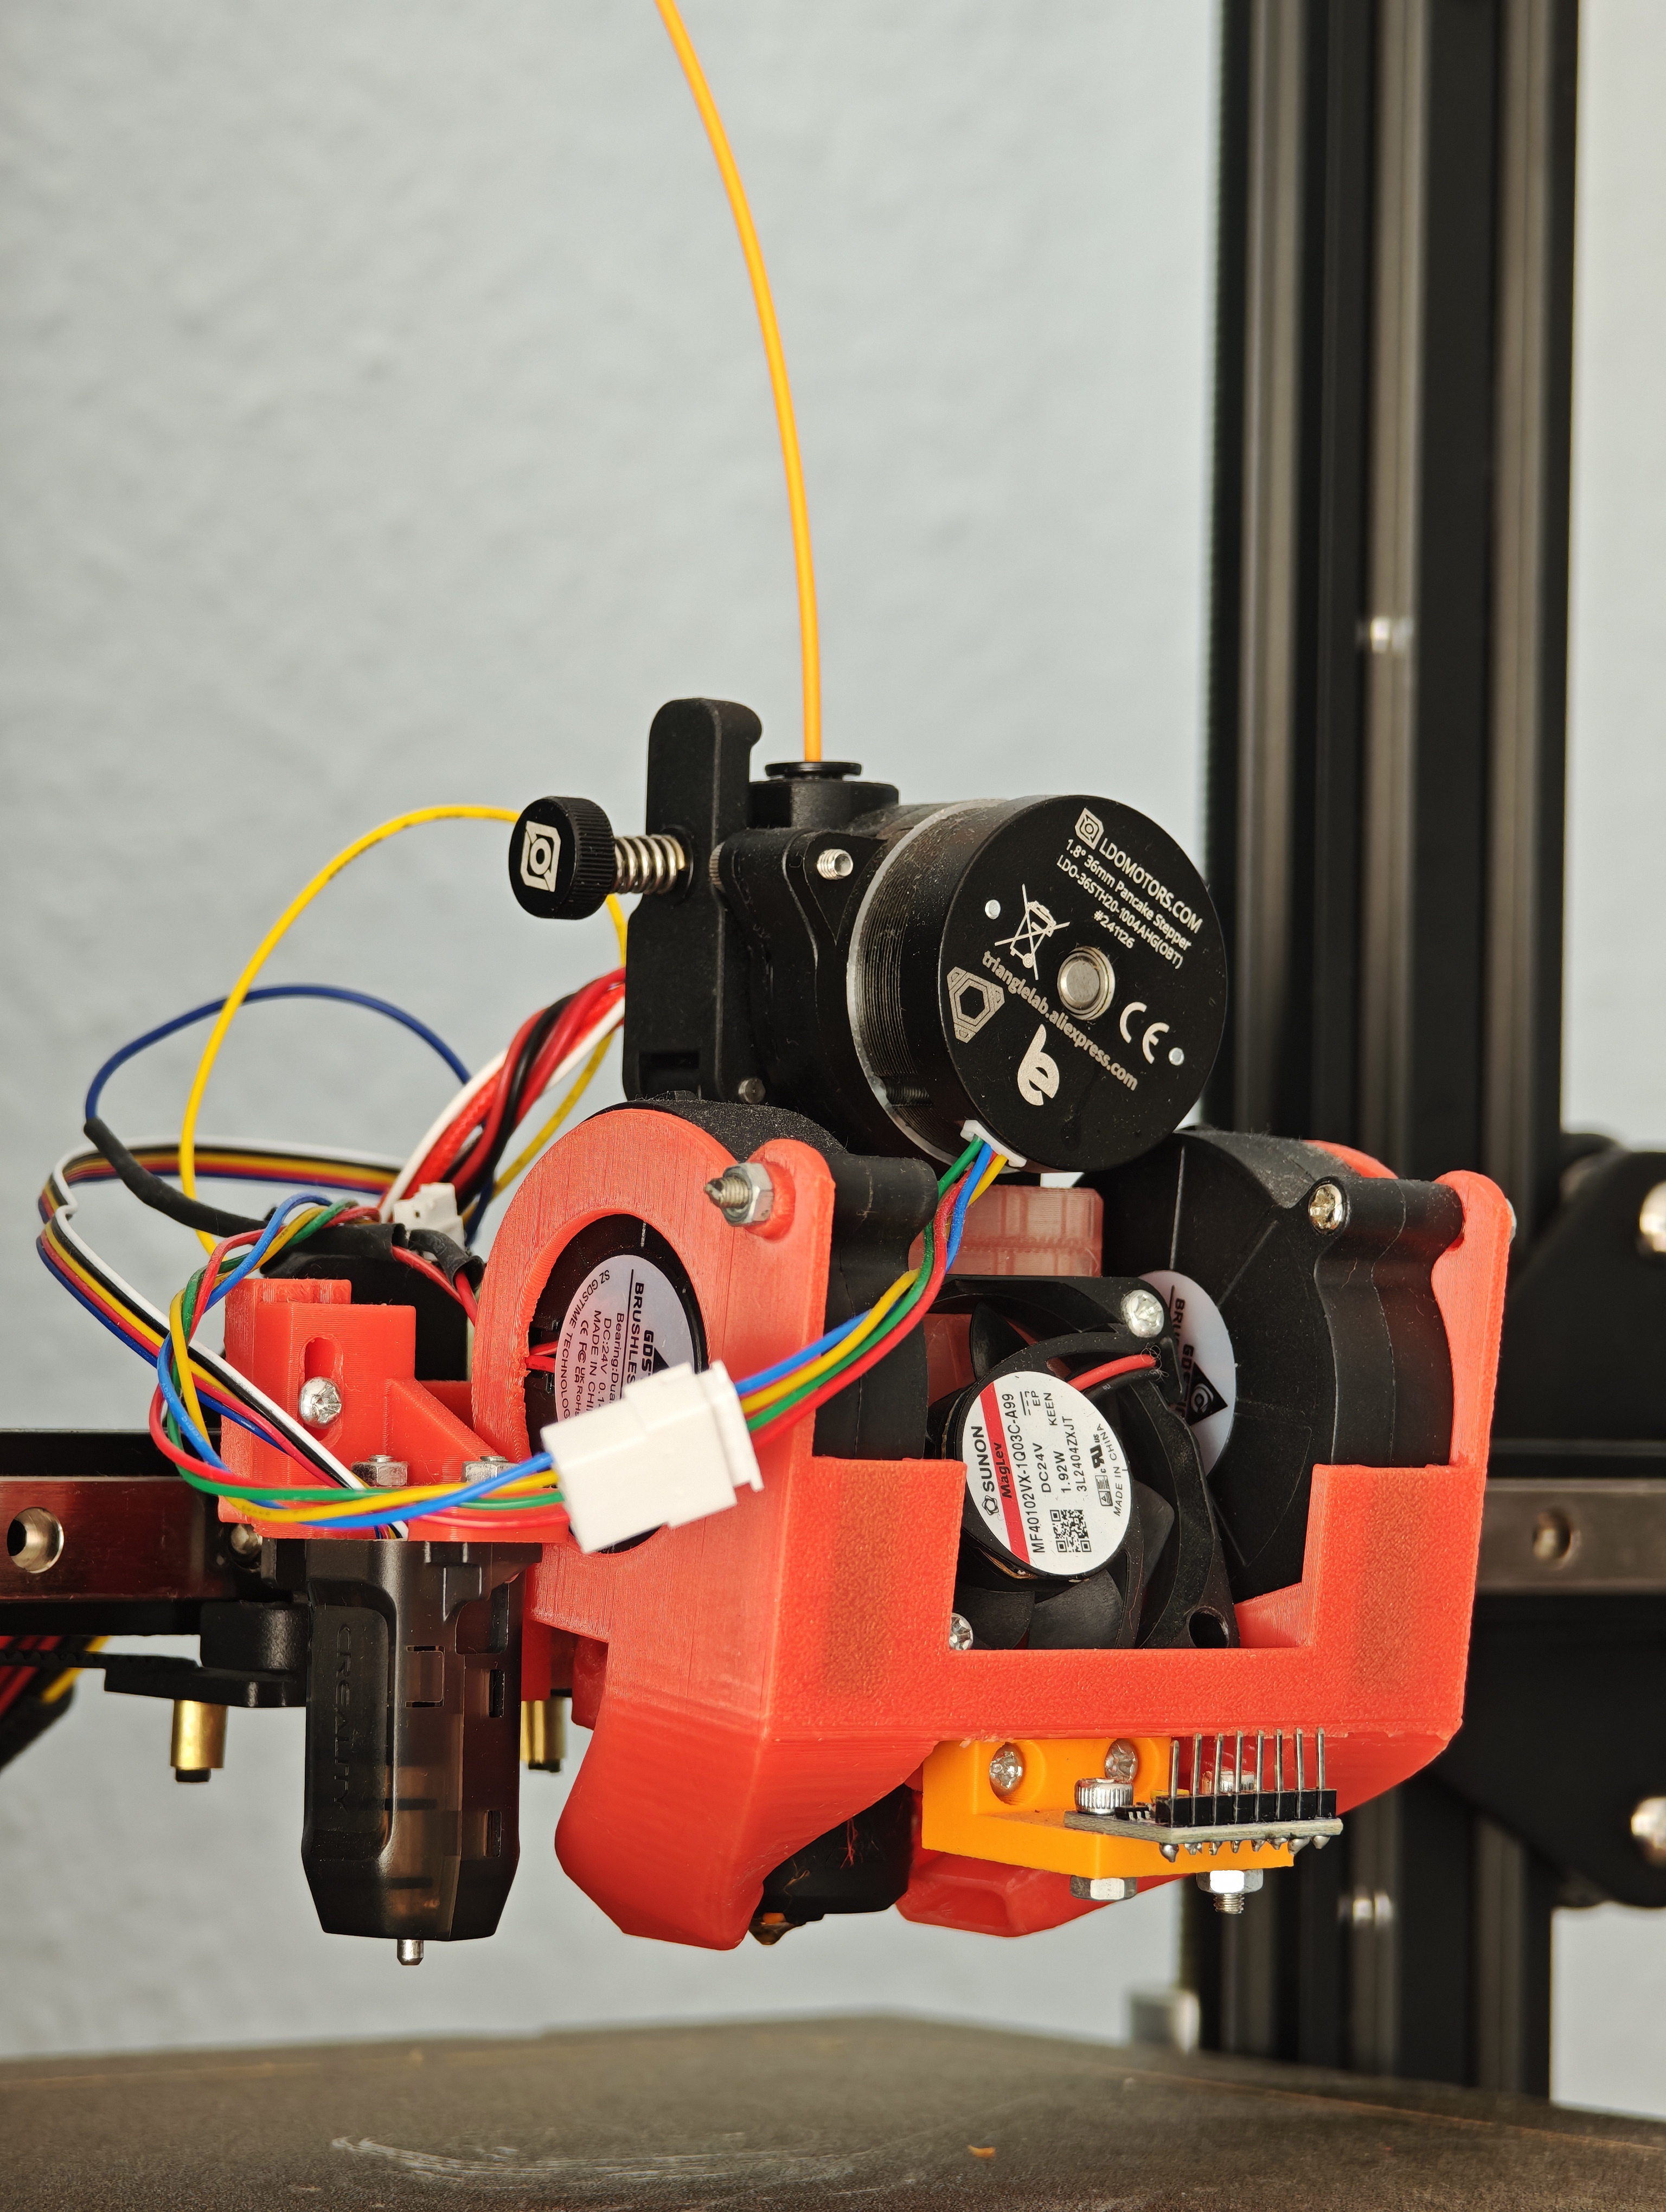
Extruder-Detail
Orbiter V2.5 Direct-Drive-Extruder mit Phaetus Hotend und Hero Me 7 Dual-Lüfter-Kühlsystem.
Hochgeschwindigkeits-Druckdemo
Live-Demonstration bei maximaler Leistung mit flüssigen, präzisen Bewegungen.